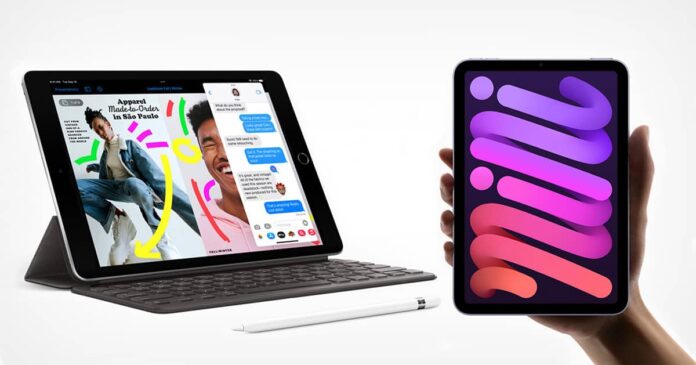
If your workflow requires frequent screenshots on Apple iPad. You may need to check this article on how to take a screenshot on any iPad generation and save it as a photo or PDF.
More like this:
How to screenshot on an iPad and save to photos?
- On an iPad with a Home button: press and release the top button and the Home button.
- On an iPad without the home button: press and then release the top button (on the top-right edge of the iPad) and either volume button on other iPad models.
- Tap the screenshot in the lower-left corner, then tap Done.
- Choose Save to Photos, Save to Files, or Delete Screenshot.
Note: If you choose to Save to Photos, you can view it in the Screenshots album in the Photos app or the All Photos album if you’re using iCloud Photos.
Save a full-page screenshot as a PDF
You can take a full-page, scrolling screenshot of a webpage, document, or email that exceeds the length of your iPad screen, then save it as a PDF.
- On an iPad with a Home button: Simultaneously press and release the top button and the Home button.
- Simultaneously press the top button and either volume button on other iPad models.
- Tap the screenshot in the lower-left corner, then tap Full Page.
- Do any of the following:
- Save the screenshot: Tap Done, choose Save PDF to Files, choose a location, then tap Save.
How to share a screenshot from an iPad to any other Apple device?
To share a screenshot, go to photos –> click the screenshot you saved –> tap the Share icon –> choose a sharing option (for example, AirDrop, Messages, or Mail) –> enter any other requested information, then send the PDF.


