How To
How to record screen on iPhone, iPad?
Whether you want to show off your gaming skills or walk somebody through how to set up their new phone, screen recording would be the perfect feature to accomplish what you want efficiently.
Here’s a step-by-step guide for recording your screen on iPhone or iPad.
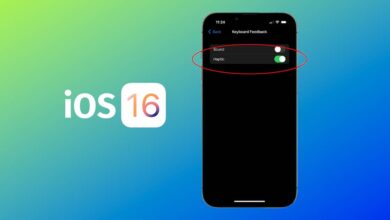
First, you should make sure that you have an iOS 14 or later update installed on your iPhone or iPad.
Before using the screen recorder tool
Before you can begin using the screen recorder tool, you’ll first need to add the feature’s button to the Control Center.
- On your iOS device, go to Settings > Control Center > Customize Controls then tap the green plus button next to Screen Recording.
How to Record Your Screen?

After adding the shortcut, you begin by opening Control Center. On iPhones older than the iPhone X, get there by swiping up from the bottom of the screen. On newer iPhones, swipe down from the top-right corner of the screen. Then, proceed as follows:
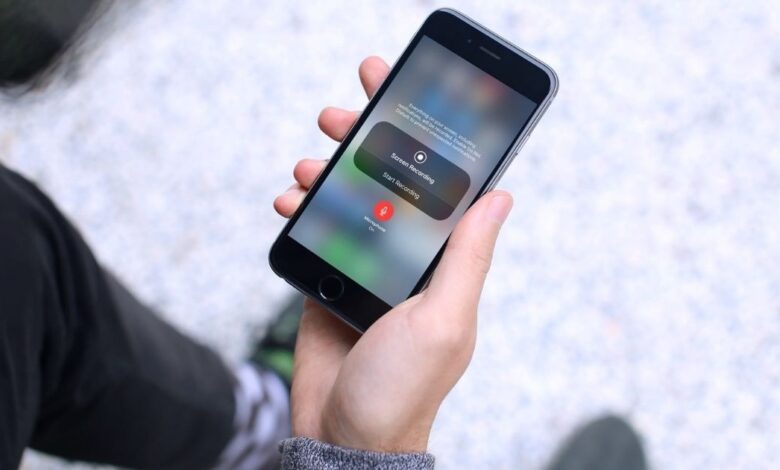
- Touch and hold the gray Record button, then tap Microphone.
- Tap Start Recording, then wait for the three-second countdown.
- To stop recording, open Control Center, then tap the red Record button. Or tap the red status bar at the top of your screen and tap Stop.
- Go to the Photos app and select your screen recording.